


All Auras synergies explained
In this article we are going to go over all of the auras of Infinity Kingdom and make some suggestions as to when they are useful and when they are not. You need to determine yourself what the purpose of your particular build is to figure out which auras are right for you!

1. Berserk
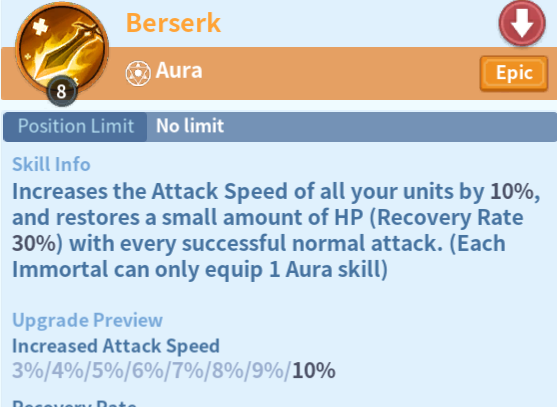
Berserk is useful for attack-speed setups like Hannibal Barca and Alexander builds because of the attack speed buff provided and the fact that you only get value from its trigger if you have high attack speed in general. Works well in combination with things like Blessing of Speed.
2. Shelter
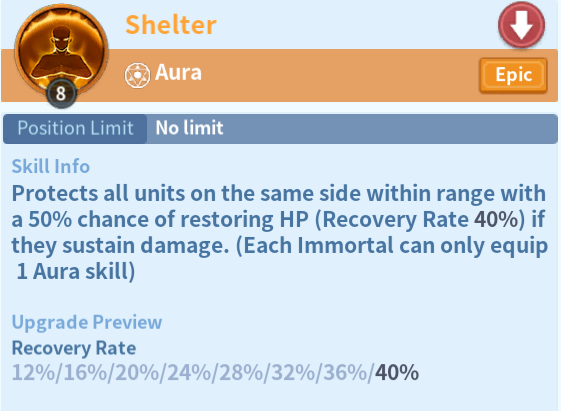
Shelter is a defensive trigger aura that works well against enemy teams where the total damage dealt to you is spread across many damage instances. For example, if I am fighting against a holy team which relies on a high amount of damage instances in AOE then an aura such as Shelter has very high value because it triggers from incoming attacks. Does NOT work well against e.g. Fire where you will take large amounts of single attack damage.
3. Paralysis
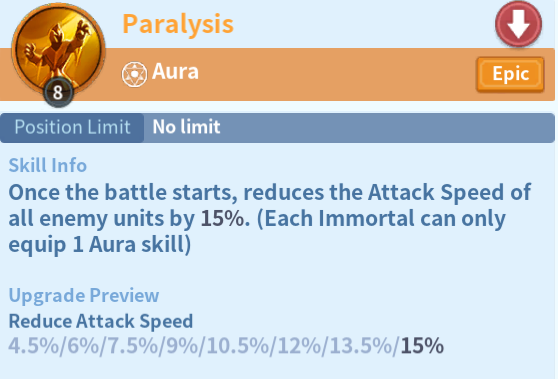
Paralysis is a debuff aura which reduces the attack speed of your enemy. This should be considered a counter-skill. Meaning that it only finds value if you use to specifically counter the enemy you are facing. A prime example is when fighting against an earth-wind hybrid that relies on high attack speed Immortals in Hannibal Barca and Alexander, paralysis has very high value. However, it is next to useless against setups that relies on time-based triggers and spell casting.
4. Missleading
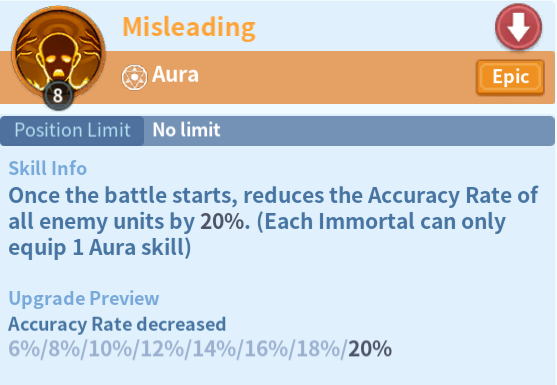
Missleading reduces the accuracy of your enemy’s immortals. As such, it works very well against physical damage setups. Physical attacks can be dodged providing 100% damage mitigation. However, Missleading can be countered by coercion and should only be used in synergy with other skills that provide enhanced dodge chance. For instance, it works well in a wind setup together with the wind dragon’s accuracy debuff and the After-Image blessing. It has no value at all when fighting against magic damage, since magic attacks cannot be dodged.
5. Malice
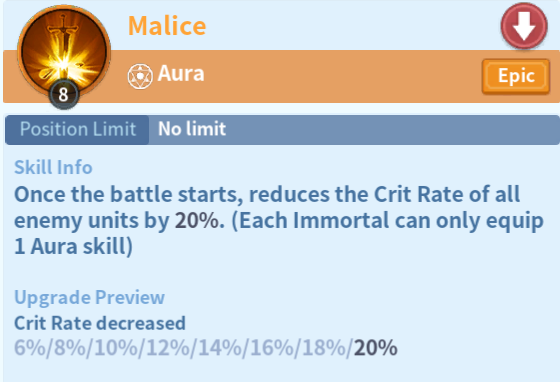
Malice reduces the critical hit chance of your enemy’s immortals. This makes the passive very useful in almost all setups, however the value from Malice is greater the more reliant your enemy is on critical hits. If you are fighting someone who use crit-trigger skills like Chase or Energy Burst then Malice has greater than normal value. Likewise, it works very well against fire setups which rely on fast burst critical damage hits. As a side note, it is in general always a good passive especially for sustain setups, because reducing the chance to take critical hits means you are smoothening incoming damage, getting more value from shields and healing. Even if you are incurring the same amount of total damage taken, having it come in smoothly across e.g. 12 seconds instead of in critical bursts means you have greater absorb rate on Charles’ shields and leaves time for healers to top off troops continuously.
6. Weakness
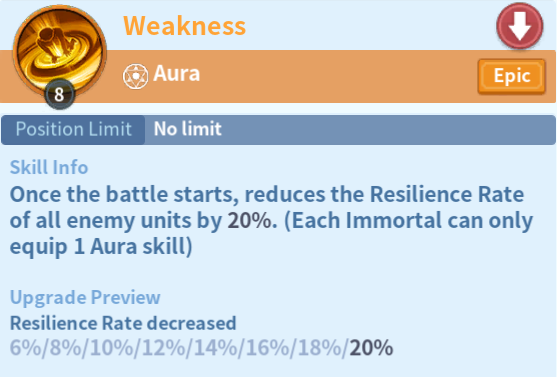
Weakness is a buff type aura that increases the critical strike rate of your Immortals. This is pretty simple, your chance for an attack to roll a critical hit increase the more critical strike rating you have. Since critical hits is always good value, you will always get solid output by using weakness. However, if you are running multiple marches I recommend you use weakness in a setup that scales well with critical hits. Personally, I use it in my fire second team because my fire team is highly crit-dependent and built for massive burst damage. Pairs particularly well with Chase and Energy Burst since we are boosting the trigger-rate of these skills.
7. Sacrifice
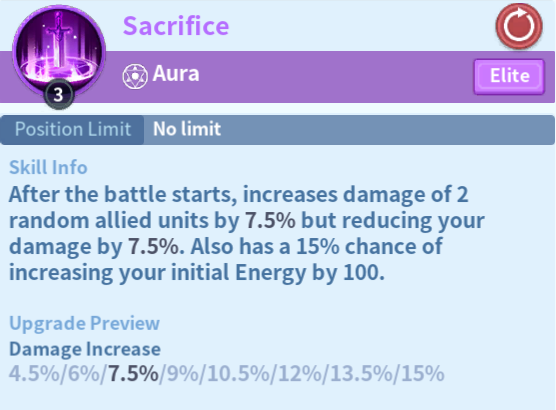
Sacrifice is an aura that has a chance to increase your Immortals energy by x amount. However, this is not the significant part of this passive. What you are looking for in this passive is its buff that provides an x% increase to damage dealt by two of your other three Immortals. It should therefore always be equipped on a support Immortal and is best used when at least two of the remaining Immortals deal significant damage. Can work well in a water march on dido or in Fire if you are running Cyrus. I have also seen it used on Charles in earth setups where Zenobia is swapped out for Bathory or Genghis Khan.
8. Coercion
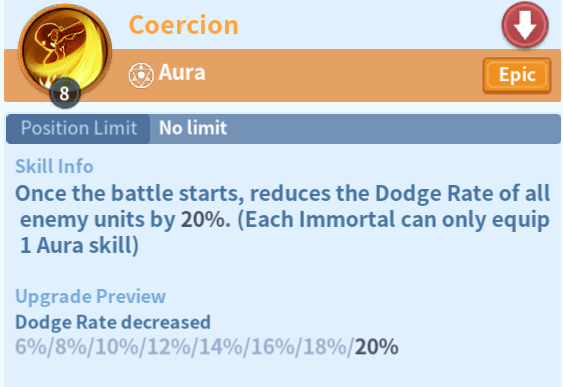
Coercion is a debuff type aura, that provides increased accuracy to all of your Immortals. As such, you get very high value from this aura in a physical heavy setup. If you e.g. have Bathory and Alexander, Barca and Atalanta, or Manco and Gilgamesh as your primary damage dealers, then coercion is a must have passive to make sure you get as close to hit-cap as possible (and do not miss attacks). On the complete opposite side, if you are running a dual-mage setup, coercion is almost useless since magic attacks cannot miss to begin with and therefore require no accuracy stat.
9. Fear of Domination
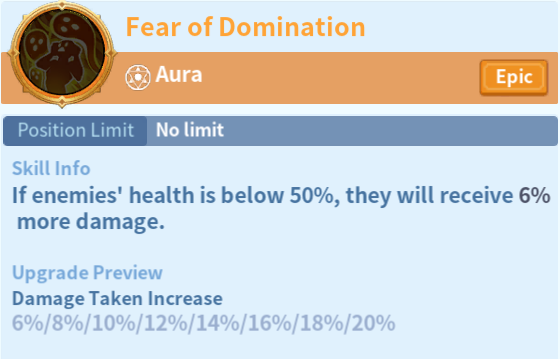
Fear of Domination is the newest aura of the bunch. It was added with the new Tower of Knowledge skills and require Triss event skill stones to unlock. Not a lot of players have this avilable to them, but when you do you will find that it works quite well for most setups to be honest. You will however find far superior value from using this passive in big nuke burst setups. Fire setups for instance, where the dragon itself get’s you a nice troop reduction on the enemy right off the bat. Likewise, it is very powerful on shadow marches.
Published: 13-12-2022